Free · No Signup · Privacy First
Image Contrast Adjuster
Make flat, washed-out photos pop — or soften a harsh one — with a live preview slider.
Boost or soften the contrast
Upload up to 5 images (max 10 MB each) to begin.
1. Upload Images
Drag & drop images here
or click anywhere in this box to browse
Supports: JPG, PNG, WEBP, BMP, GIF, SVG · Up to 5 images, 10 MB each
Processing Statistics
Batch Download
This downloads whatever contrast value is already set on each image — it doesn't apply one contrast level to every image for you.
Settings guide
What each control actually does
| Setting | What it does | Recommended use | Best for |
|---|---|---|---|
| Contrast | A slider from −100 to 100 that scales every pixel's color values away from (or toward) a fixed midpoint gray, redrawing live as you drag. This is a proportional stretch, not a flat shift — midtones move less than pixels already near black or white. | ±10–25 for subtle enhancement | Restoring depth to flat or hazy-looking photos. |
| Output Format | JPEG, PNG, or WEBP only — no BMP or PDF export here. | PNG for transparency | Matching what the adjusted file will be used for. |
| Quality | Always shown regardless of format, but only actually affects JPEG and WEBP output. | No effect on PNG | Balancing file size against clarity for JPEG/WEBP. |
| Rename | Edits the file name inline; the new name is used for that image's download. | Rename before downloading | Skipping a rename step on your device afterward. |
| Batch Download | Appears once you've uploaded at least one image. It only downloads what's already set on each card — there's no bulk "apply this contrast to every image" action. | Set each slider first | Grabbing every finished image at once after you've adjusted each one. |
Output format guidance
Choosing an export format
The contrast calculation itself never touches transparency — it only rescales each pixel's red, green, and blue values. What happens to any transparent areas comes down entirely to your export format.
| Format | Best for | Quality control | Notes |
|---|---|---|---|
| PNG | Lossless output, transparency, graphics | Field shown, no effect | Keeps any transparency in your original file intact through the adjustment. |
| JPEG | Photos, smaller files | Quality 10–100 | If your source image has transparent areas, they typically render black on export, not white — there's no background fill step in this tool. |
| WEBP | Smaller, modern web-ready files | Quality 10–100 | Preserves transparency from your original file, unlike JPEG. |
Example result
Before and after
Actual results depend on your source image's existing contrast — this is one example, not a guaranteed result.
Original Before adjustment
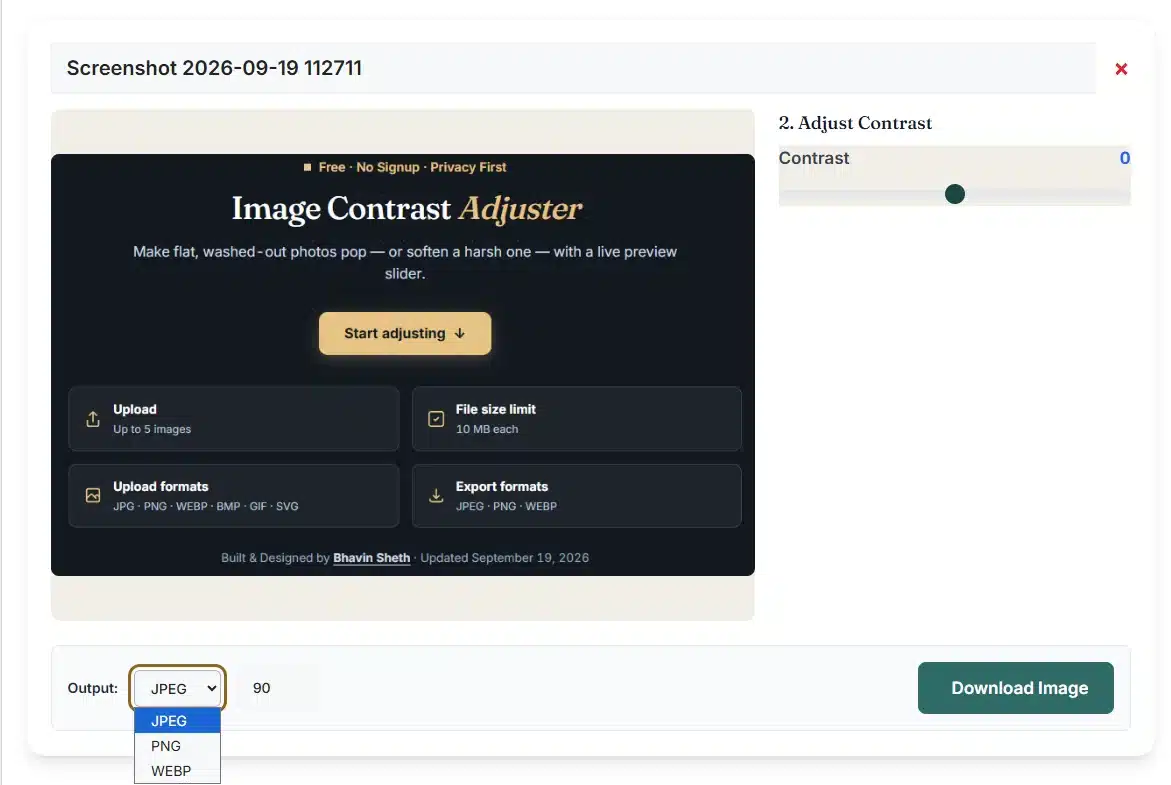
The source image at its original contrast, 0.
Adjusted After adjustment
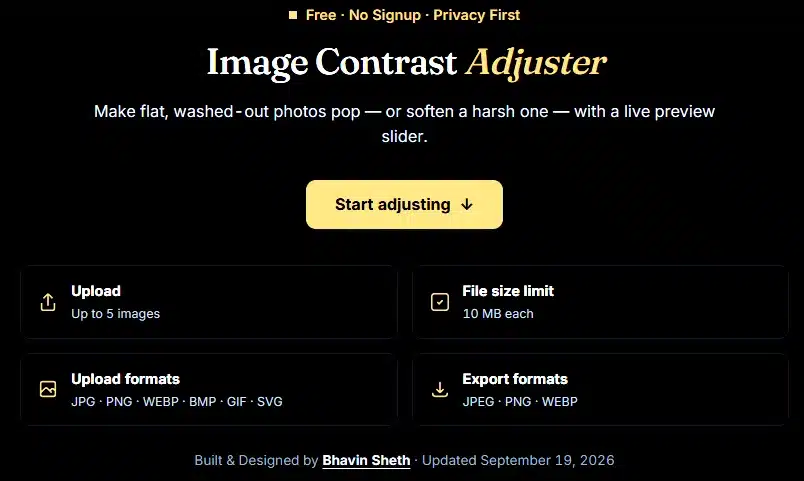
The same image with the Contrast adjustment set to 57.
Browser technology
How contrast adjustment works without a server
This tool reads and rewrites every pixel's color values directly. Unlike a flat brightness shift, contrast uses a real photography formula that scales values proportionally around a midpoint. Nothing is uploaded as part of this workflow.
What happens as you drag the slider
Honest by design
What this tool does — and doesn't
Stated plainly, before you run into it, rather than only after something looks unexpected.
The contrast adjustment
Extreme adjustments
Transparency and export
Batch handling
Session and file handling
Format handling
Common use cases
What people actually adjust for
| Problem / use case | Recommended settings | Result, benefits & where to use |
|---|---|---|
| Flat, hazy, or overcast photo A photo looks dull and lacks depth. | +15 to +30 | Restores punch and separation between light and dark areas. |
| Harsh sunlight with strong shadows A photo looks overly stark or contrasty. | −10 to −25 | Softens the image for a more natural look. |
| Bringing out texture Wood grain, fabric, or stone needs to read clearly. | +15 to +25 | Emphasizes surface detail and depth. |
| Faded old photograph A scanned photo has lost its original vibrancy. | +20 or higher | Brings back some of the image's original life. |
| Product photo for a listing Colors and texture look washed out. | +10 to +20 | Richer, more defined product presentation. |
| Batch-fixing a handful of photos Several images share the same flat lighting. | Upload up to 5Download All | Set each one, then download every result in sequence. |
Troubleshooting
Common issues & quick fixes
Contrasted JPEG shows black where the image was transparent
This tool has no background-fill step at all, so a transparent PNG exported as JPEG typically turns those areas black rather than white.
- Export as PNG or WEBP if transparency needs to be kept
- Flatten the image onto a solid background before uploading if JPEG is required
A smooth gradient now shows visible stripes ("banding")
Because contrast stretches values proportionally rather than shifting them by a flat amount, pushing it too far can spread a smooth gradient's limited color steps far enough apart to become visible bands.
- Pull the slider back toward 0 until the gradient looks smooth again
- This is more likely on skies, shadows, and other soft gradients than on high-detail areas
Parts of the image turned pure white or pure black
Values are clamped between 0 and 255 — at high contrast settings, pixels already near either end get pushed the rest of the way and lose all detail.
- Pull the slider back toward 0 until detail returns
- Already very bright or very dark originals clip sooner than well-balanced ones
An uploaded file is rejected
Upload verifies supported web formats (JPG, PNG, WEBP, BMP, GIF, SVG). Raw formats like HEIC or TIFF require pre-conversion to preserve client-side fidelity.
- Convert to JPG or PNG first, then upload here
- Stick to JPG, PNG, WEBP, BMP, GIF, or SVG for reliable results
Refreshed the page and lost my adjustments
Nothing is saved between sessions — every slider value only exists in the current browser tab.
- Download each image before navigating away or refreshing
- Your original file on your device was never changed
Adjusting one image didn't affect the others
Each uploaded image has its own independent contrast value — there's no shared or bulk setting across a batch.
- Adjust the slider on each image card individually
- Use Download All only once every card is set the way you want
Frequently asked questions
Contrast adjustment questions
Is my data safe when using this tool?
Image processing happens in your browser. The tool does not upload your selected images to our server as part of the contrast-adjustment workflow.
What image formats are supported?
We support all major image formats including JPG, JPEG, PNG, WEBP, BMP, GIF (non-animated) and SVG. You can adjust the contrast for any of these formats.
Does adjusting contrast reduce image quality?
Our tool uses a high-quality algorithm to preserve detail. Minor adjustments will enhance the image. However, extreme adjustments can sometimes cause banding in smooth gradients or clipping in the darkest and brightest areas, where detail is lost. We always preserve the original resolution.
Can I adjust multiple images at once?
Yes! You can upload multiple images and adjust the contrast for each one using its dedicated slider. When you're done, click the Download All Contrasted Images button to automatically download all processed images one by one.
Is the adjustment reversible?
Yes. Within the tool, you can simply move the contrast slider back to the 0 position to revert to the original image at any time. Your original file on your computer is never altered.
How does the contrast adjustment work?
Our tool uses a standard digital photography algorithm. It calculates a contrast factor from the slider's position. For each pixel, it pushes its color values further away from the mid-point gray for positive contrast, or pulls them closer for negative contrast, enhancing the overall clarity of the image.
Ready to fix your photo's contrast?
Upload up to 5 images and drag the slider until it looks right.
Start adjusting ↓